Windows Mail
From Korax
These steps show the correct settings for Microsoft Windows Mail (in Windows Vista) and Outlook Express (in Windows XP) to send and receive mail through Korax e-mail accounts.
Note: The steps for Outlook Express are almost identical to those for Windows Mail, with one additional step near the end.
- Ensure that you have your email settings and instructions printed out and in front of you. These will be in an email that was sent to you after you requested that your email account be set up with us. The e-mail account will store your incoming mail.
- Start Windows Mail, and click the "Tools" menu item. Select "Accounts".
The "Internet Accounts" window appears.
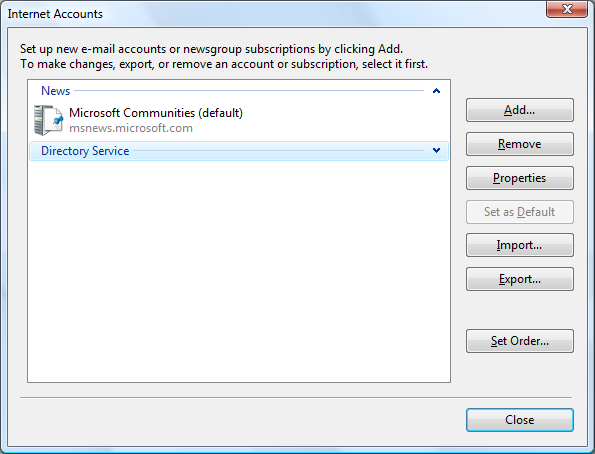
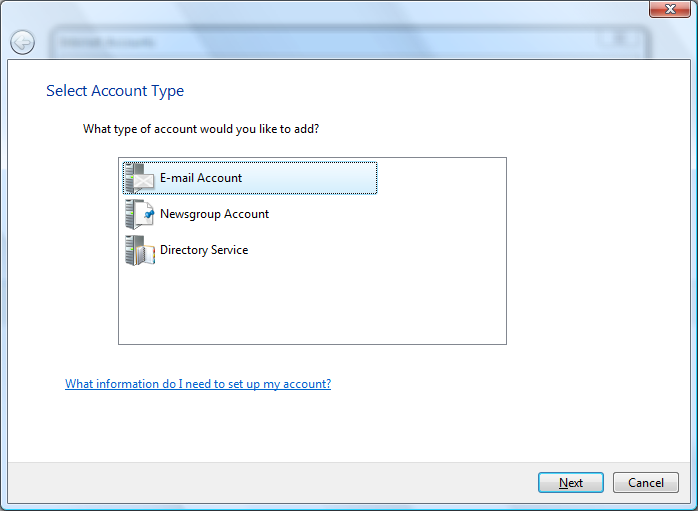
- Click the "Add" button. The "Add Account" window appears. Select "E-mail
Account". Click the "Next" button.
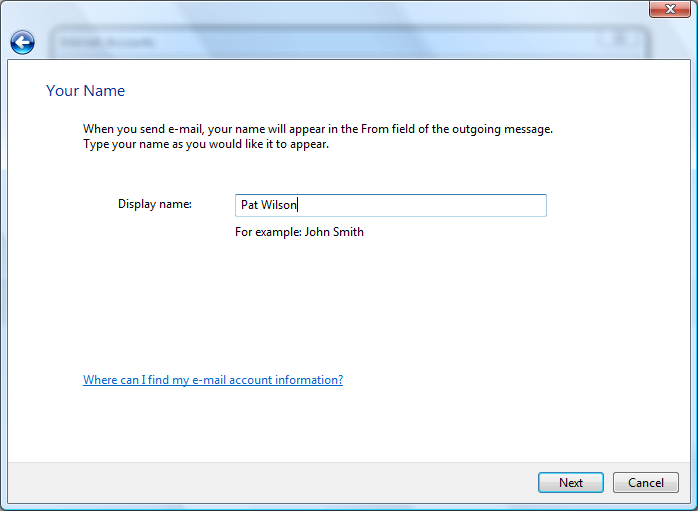
- Enter your name as you would like it to appear in the "From" field of the
e-mail messages you send. Click "Next".
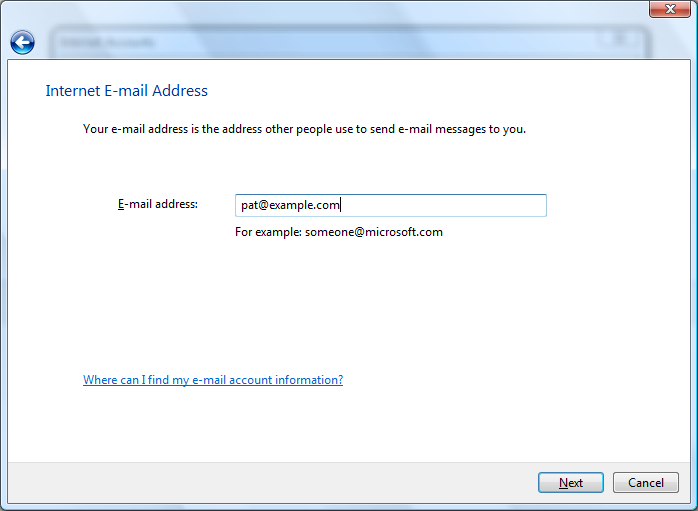
- Enter the e-mail address of the account that was created for you in step one. Click
"Next".
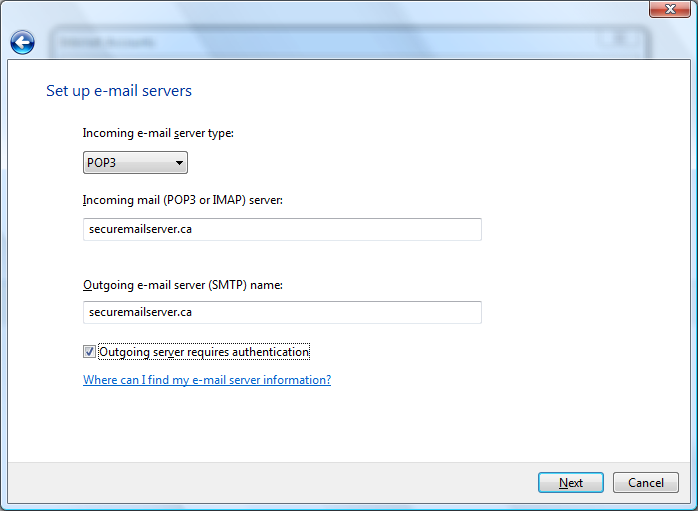
- Enter securemailserver.ca for both the incoming and outgoing mail
server. Check "Outgoing server requires authentication" (note: this
checkbox does not appear in Outlook Express). Click "Next".
- Enter the e-mail address of the account that was created for you in step one. Enter the
e-mail account password that was given to you when you created the e-mail
account in step one. Check "Remember password" if you don't want to be
prompted to enter your password each time you check for new mail.

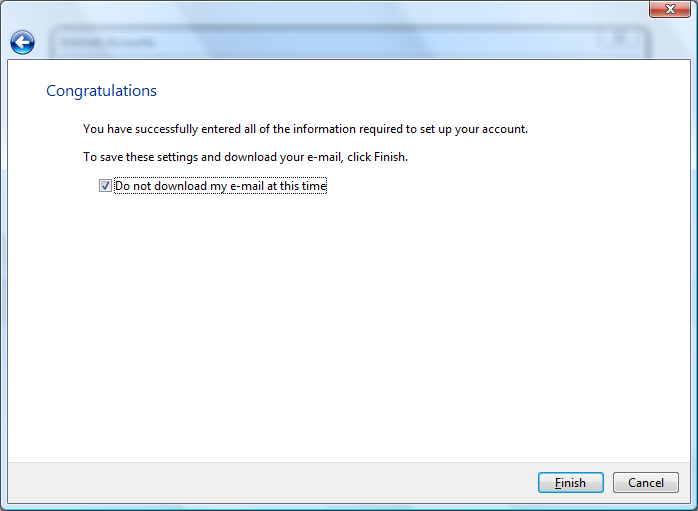
- On the final screen, check "Do not download my e-mail at this time", then
click "Finish".
- In the "Internet Accounts" window, select the account you just created. Click the "Properties" button. The "Properties" window appears.
- Outlook Express only: Click the "Servers" tab. Check "My server requires authentication".
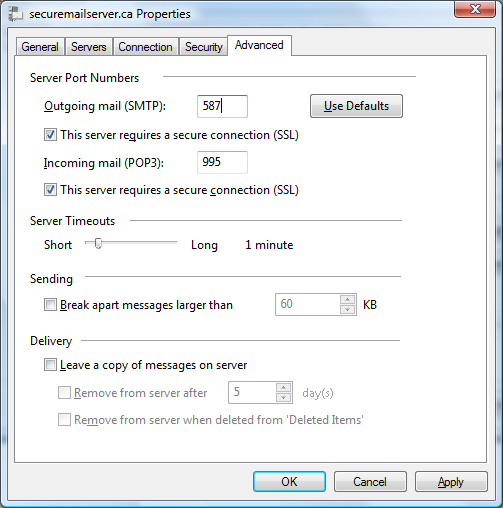
- Click the "Advanced" tab.
- For the outgoing mail server, check the box labelled "This server requires a secure connection (SSL)". Enter the number 587 in the outgoing mail (SMTP) server port number field.
- For the incoming mail server, check the box labelled "This server requires
a secure connection (SSL)". Enter the number 995 in the incoming mail
server port number field.
- Click the "OK" button.
- Click the "Close" button to close the "Internet Accounts" window.